Battery ratings and replacement schedules
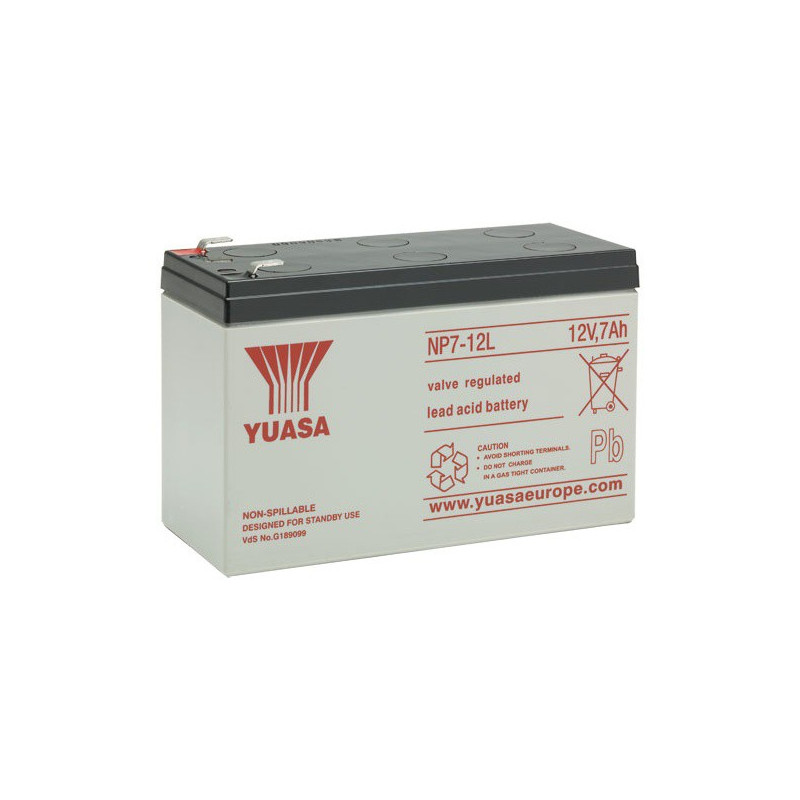
Sealed lead-acid batteries of the type that are used in fire and security system applications are rated for voltage and current output. Whilst these batteries are usually supplied in a 12 volt configuration, they are supplied with many different Amp-hour ratings, which usually have an effect on the physical size and weight of the batteries.
Amp-hour ratings
Let's say in theory that a 12 volt, 7 Amp-hour rated battery will give you roughly 7 amps at 12 volts for one hour, or 1 amp at 12 volts for 7 hours.
Let's apply that theory to an intruder alarm, and let's say the total load of the intruder system was 500mA (0.5 amps) - that means in theory that we should get 14 hours of battery power from the 7Ah battery. This is great on paper, but it does not always work in practice, because new batteries do not always provide the advertised rating, and as batteries get older, they naturally decay and become less efficient. How you store the battery during it’s lifecycle also affects how fast it decays.
These points have been taken into account with the industry battery testing procedures and standard calculations which can be employed to determine what size of battery is actually required. In some of the cheaper domestic intruder alarm systems it is quite often the case that the battery choice is determined by the size of the panel physically. You hope that the battery size that fits is sufficient and that the maximum current draw for the system has been taken into account when the panel was designed. However it is still up to the installer to verify that the battery fitted is adequate to meet the system's requirements.

Installing a battery
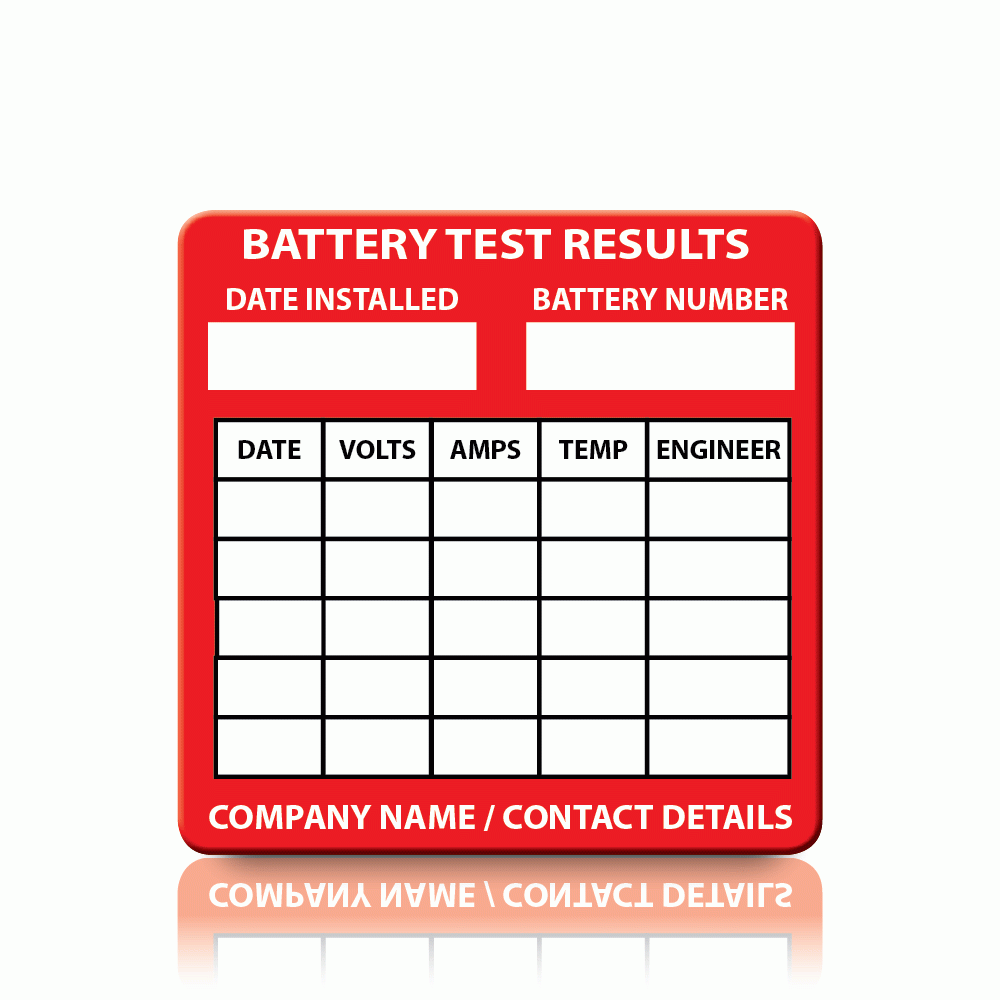
The first thing to do when installing a battery is to always fit a battery label on it and put the install date and the other necessary details asked for on there. This is your chance to verify that the battery you bought supplies what it is supposed to. The main reason for adding a label is to record the rate of degradation each time it is tested. The fact is that a battery will last about five years* on average, hence why you should change it every five years maximum, even if the battery is still ‘good’ on year five. If you do not change the battery regularly, it will eventually provide a 3 am call out, because the failure rate on SLA batteries after five years gets pretty steep. This makes it important to know when the battery was installed, and if it has been regularly checked. This is what the battery label is all about.
So where do we get this five year maximum figure from? Well, a few places - The old UK BS 4737 standard stated that when the battery gets to 80% efficiency (how it holds its charge), it should be changed. Also most manufacturers will tell you that their batteries will, if stored at the right temperature, get to 80% efficiency after 5 years.
* The industry inspection bodies, such as NSI and SSAIB have a code of practice which calls for a four year change over policy, if the battery has not already failed a load test. The reason for this is that the battery’s life could be shortened if it is stored at relatively high temperatures - for instance, if the intruder panel was installed in a hot cupboard. In that case, because of the heat the battery might get to 80% efficiency after just 3 years. Hence it is best practice to fit the battery with a label, put the install date on it, and check and record it’s performance annually. Any signs of failure should result in the battery being replaced.
So why the fixation on failing batteries? Well, apart from the much higher risk of faults on the system appearing, the control panel doubles up as the battery charger. Sometimes when a battery fails, it can damage the charger circuit in the control panel. So instead of just having to fit a replacement battery you might have to replace the control panel as well. An expensive lesson. Poorly maintained intruder alarm systems can also be anti-social - for example if you get a power cut in your area and a couple of alarms immediately begin sounding, it’s because their control panel batteries are faulty - and after an hour another couple will join in and so on. This causes noise nuisance and call-outs. However alarms with healthy batteries should be ok for many hours.

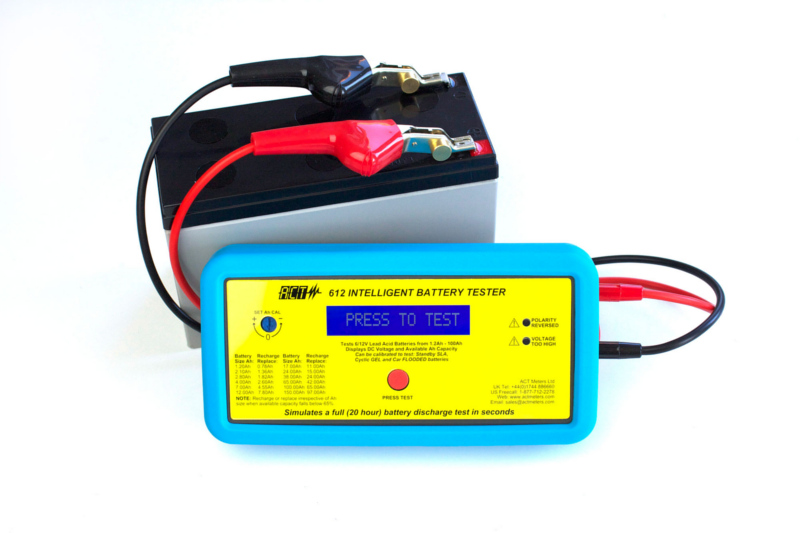
So how do you know if a battery is failing? The very first line of defence is the install date you put on that battery label. The next, and only slightly more technical step is to use a calibrated battery test meter. These units give you a display of how much life is still in the battery, it’s temperature, voltage output etc. The results of any battery test should be recorded on the battery label and in the system log book.

Safety Warning
These types of batteries can be dangerous if installed or stored improperly, which can be a fire risk. Ensure that the battery terminals are insulated when in storage from short circuits and return any end of life batteries to your local recycling facility. Make sure when transporting batteries that they cannot be shorted out by other batteries, stray tools or metal parts.
The safe use, storage, handling and disposal of new and used batteries is an industry inspectorate audit point.
Calculating the correct battery size
Intruder alarms:
The old UK BS 4737 standard stated that a control panel battery should maintain the system for a minimum of 8 hours. It’s newer replacement, BS EN 50131 and PD 6662, calls for a 12 hour period for Grade 1 and Grade 2 systems, and a 24 hour period for Grade 3 and Grade 4 systems. So you need to ensure you fit a battery or batteries to meet these requirements. The good news is that there are measurements you can take and calculations you can do to verify that you meet the BS EN 50131 requirements.
Let’s look at the BS EN 50131 requirement (since it’s the one we should be using for new systems). This recommends that the battery should maintain the alarm system in standby (unset) mode for 12 hours (Grades 1 and 2) or 24 hours (Grades 3 and 4).
To determine the battery size required for the system, the current (in milliamps or amps) used by the system in standby mode should be calculated (at the design stage) and measured (verified on site) and then this figure multiplied by 12 or 24 (hours). The resulting figure should then be multiplied by 1.25 (battery efficiency de-rating factor) to give the minimum size of battery required.
For example, consider the following Grade 1 system with typical standby currents.
Control Panel (integral keypad) = 80mA
External Sounder = 35mA
4 x PIRs (11mA each) 4 x 11mA = 44mA
Total system current (standby) = 159mA
Battery required for 12 hours standby = 12 hours x 159mA = 1,908mAh = 1.9Ah
Add the de-rating factor for battery efficiency loss = 1,908mAh x 1.25 = 2.442mAh = 2.44 Ah minimum required capacity.
Hence a 2.8 Ah battery (the next closest battery size up) will suffice.
Obviously, the addition of extra powered detectors or external sounders could then require a larger battery, so these calculations and measurements should be re-done if additions are made.
So how did we get these numbers? The numbers quoted for the control panel, external sounder and PIRs were all taken from the respective installation manuals and specification sheets, which would form the basis of the design calculations. To verify the design calculations and measure the real-life values, we need to use our multimeter to measure the actual system standby current value.
Here’s How:
Once the system is powered up and complete, and with the control panel in engineer mode and the panel lid removed, switch on and set up your multimeter to measure current (Amps).
Now take the red (+) battery lead from the battery and attach it securely to one of your multimeter leads.
The other multimeter lead should now connect with the red (+) battery terminal.
Now turn off the mains power to the panel.
The alarm system should still be running on battery power, through your multimeter, which will be reading the total system standby current.
Take note of the measurement figure from your meter.
To comply with NSI codes of practice you will also need to measure and record the system alarm current.
To do this, trigger the alarm so that all sounders and strobes are in operation and measure the current drawn.
Take note of the measurement figure from your meter and turn on mains power.
Remove your multimeter and reconnect the battery lead to the battery, refit the panel lid.
Any values gleaned should be noted on the system paperwork and run through the battery calculation above.
Please note: There is a slightly different and more involved calculation for fire alarm systems which we will cover in a separate article.
